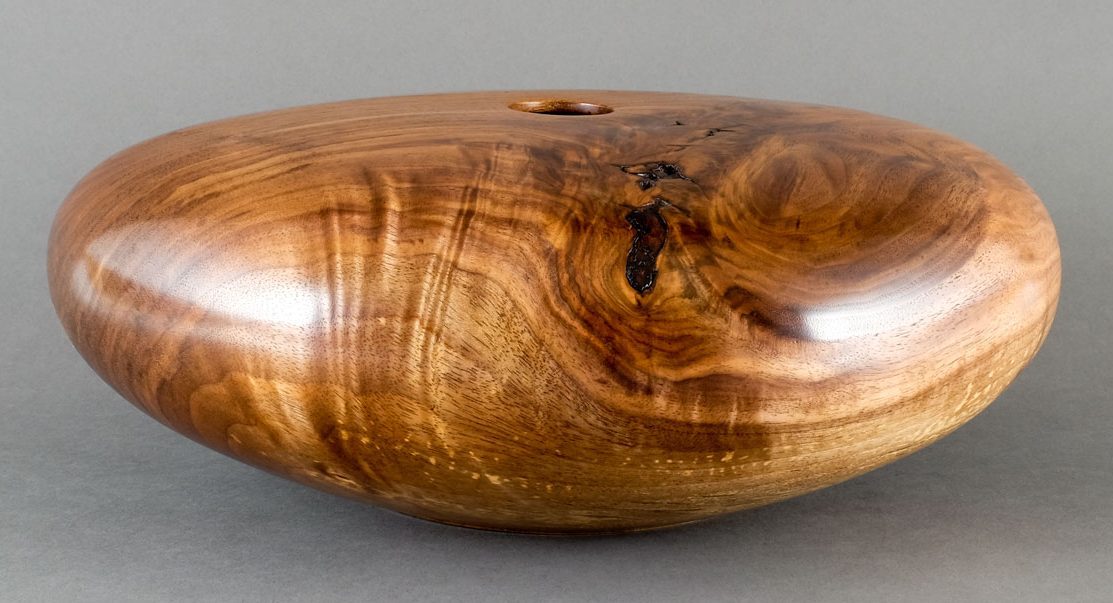
About Hollow Forms
These vessels typically feature small openings and…
large volumes with hollow interiors and thin walls, prompting viewers to ask “How did you get all that wood out through that small hole?”, a question to which the perfunctory reply might be “very carefully”.
While it’s true that great care must be taken when hollowing out these objects, the more complete answer is that a wooden blank is first mounted on the lathe and turned to the desired shape. Once the exterior is complete, the interior is hollowed out using a variety of tools and techniques.
Often a long drill bit establishes a starter hole and overall depth. Hollowing proceeds with gouges, scrapers and specialized tools that are shop made or purchased and modified for a particular use.
The process is slow, requiring that the tool be frequently withdrawn to evacuate the shavings, usually with a blast of compressed air.
The challenge is to achieve a thin and consistent wall thickness when the portion of the tool that is doing the cutting is inside the spinning object, completely hidden from view. This is achieved by employing a variety of measuring tools and techniques and by listening to the sound that the cutter is making as work progresses.
Most of my hollow forms are turned from fairly green wood to their final thickness and allowed to dry, after which final sanding and finishing is done.
Depending on how much the piece has warped during drying, sanding may be done on the lathe or may require use of other sanding methods including hand sanding.
These vessels are primarily decorative and so will often be finished with products such as lacquer or shellac that allow a finer and more glossy finish than what might be used on more utilitarian pieces.
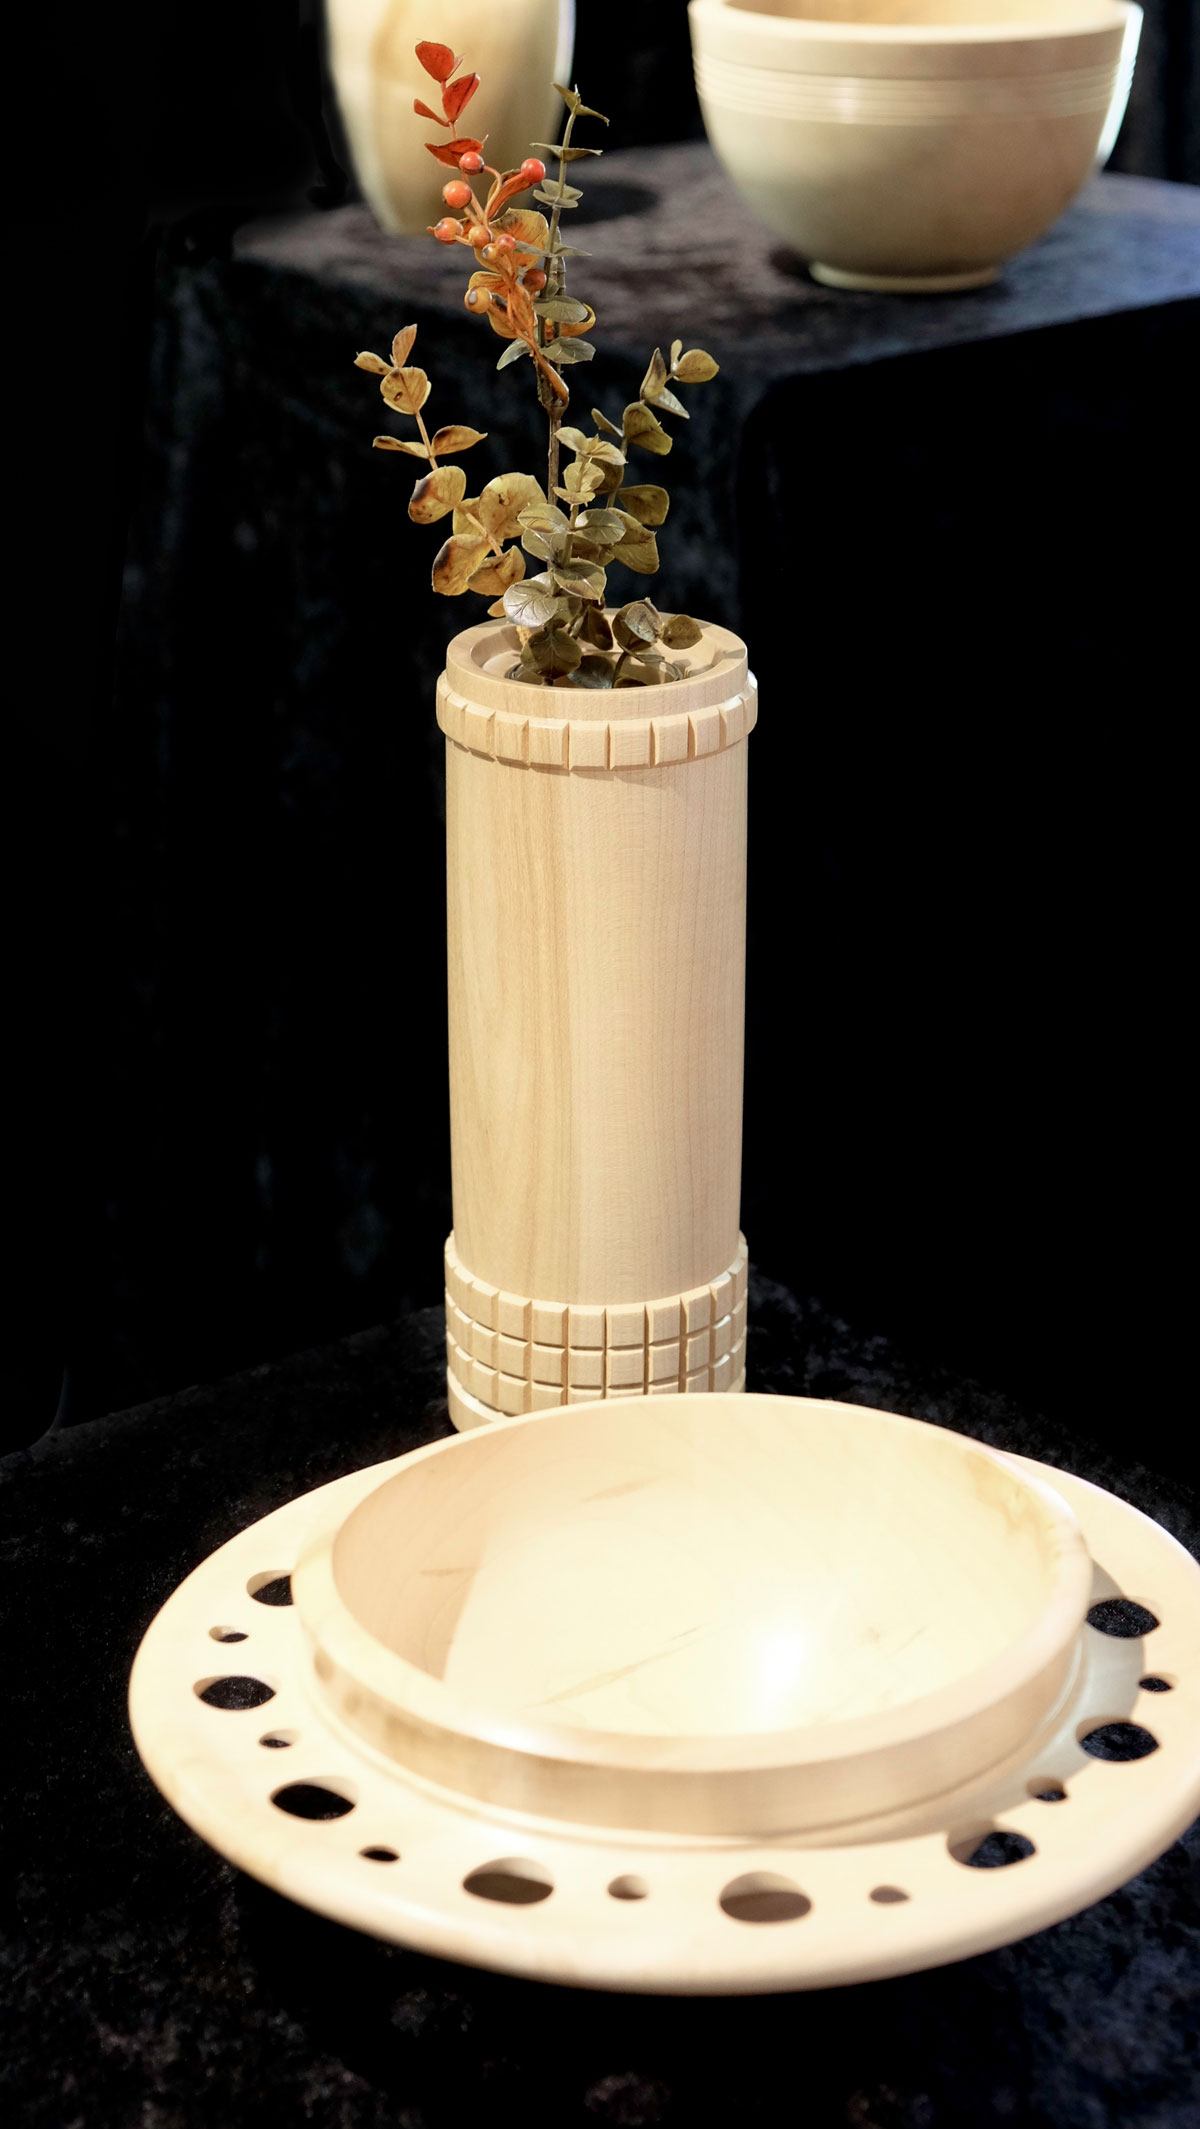
Though they are decorative enough to stand alone on a shelf, table or mantle, they may be used to display dried flowers, grasses or twigs, which creates a completely different presentation.